The Embargo System
An embargo is simply a ban on showing records to researchers where the event is too recent or is otherwise sensitive. We have a system that can manage embargoes automatically and release records for searching at the proper time.
Say we have images for a burial register up to 2018, but the Record Office asks that they are not shown in search results until 50 years after the event. As coordinator, you can set up (establish) the 50-year rule for the whole register, the transcriber can transcribe and upload the complete register, but only those events that are at least 50 years old will be found in a search. Each year, the system will automatically release any records that are no longer subject to the embargo rule.
Embargo a Register and all its contents
An embargo applies to all the records in a Register. However, you can have a different rule for each specific record type, i.e. one rule for baptisms, another for marriages, and a third for burials.
There is one additional action that allows a single record to be embargoed on the authority of the Trustees (see Managing the embargo of a specific record, below.)
In summary, embargo rules are established for a Register, embargoes are applied to a Record. There are two types of embargo: one establishes a period of up to 125 years for the embargo; the other establishes a specific year when the embargo will end.
Create an embargo rule
You can create an embargo rule for a register using the ‘Create New Embargo Rule’ button on the Register display. The rules apply only to the records associated with that register type. Remember that a church can have multiple register types, e.g. PR, MI, BT, OT, EX, etc., and there can be different rules for different types.
You can create different rules for each record type, i.e. for baptisms, burials, and marriages. But there can be only one rule per record type, per register type.

Once a rule has been created the button (action) in the display will change from ‘Create New Embargo Rule’ to ‘Embargo Rules’. You can then create additional rules or make edits to existing Rules from the ‘Embargo Rules’ display.

Options for a first rule
You have the following options for creating a first rule:
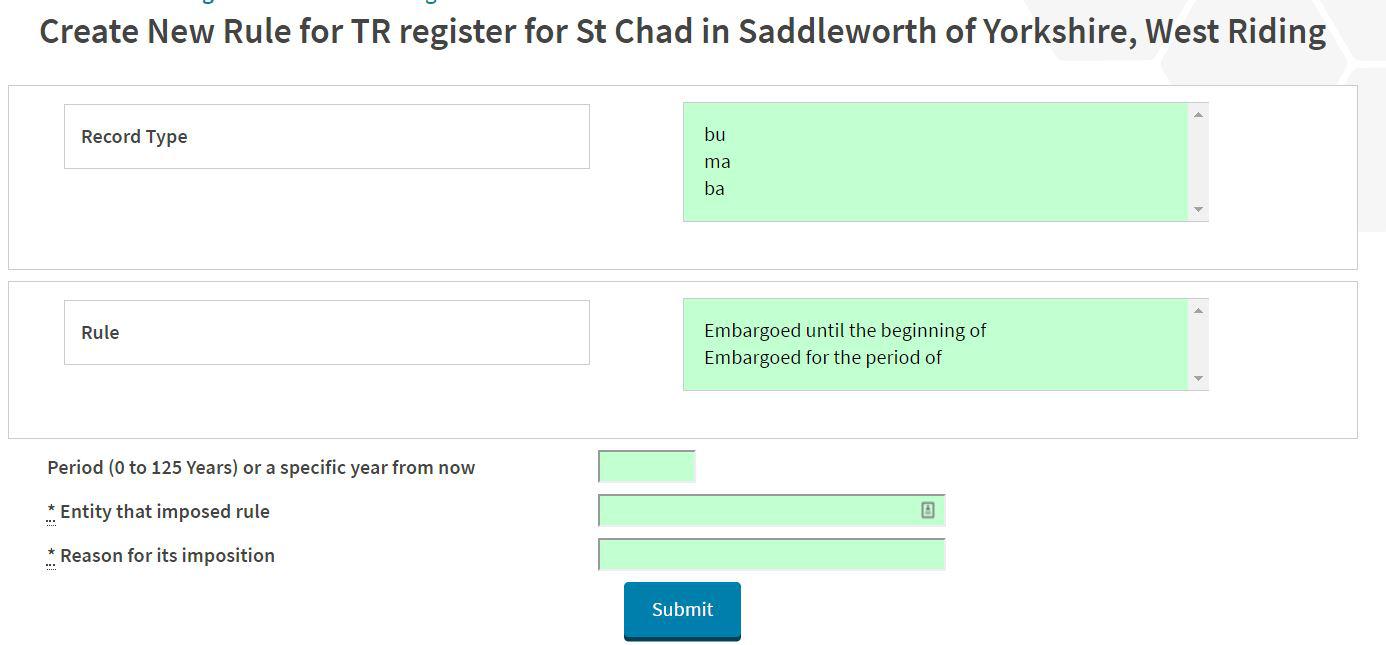
There can be only one rule for a record type. You either embargo for a period of up to 125 years or until the start of a specific year. You must specify the entity (the who or the what) imposing the embargo and their reason.
Once a rule is created, all records for batches in the register will be reprocessed in the background overnight. You will receive an email with a detailed report once reprocessing is complete.
Any new or replacement file submitted after the creation of a rule will have its records checked for an embargo.
Some examples
Create the first rule for a register:
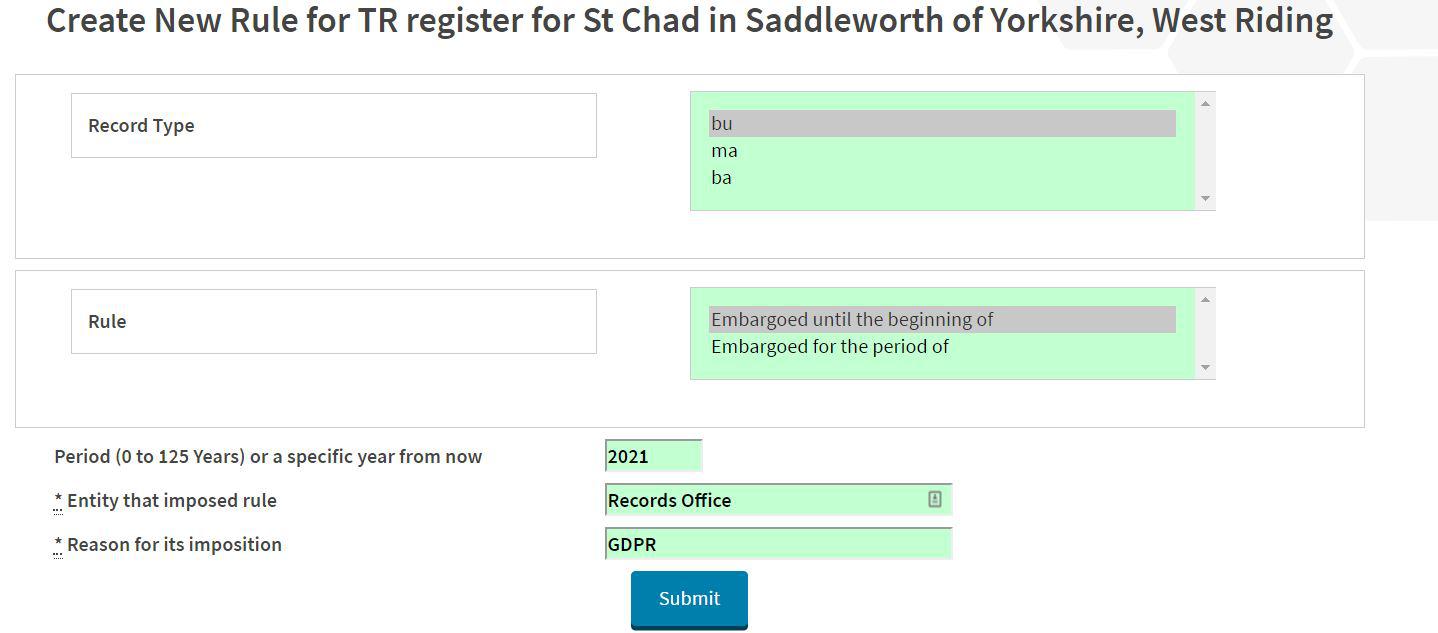
Add another rule for a different record type:
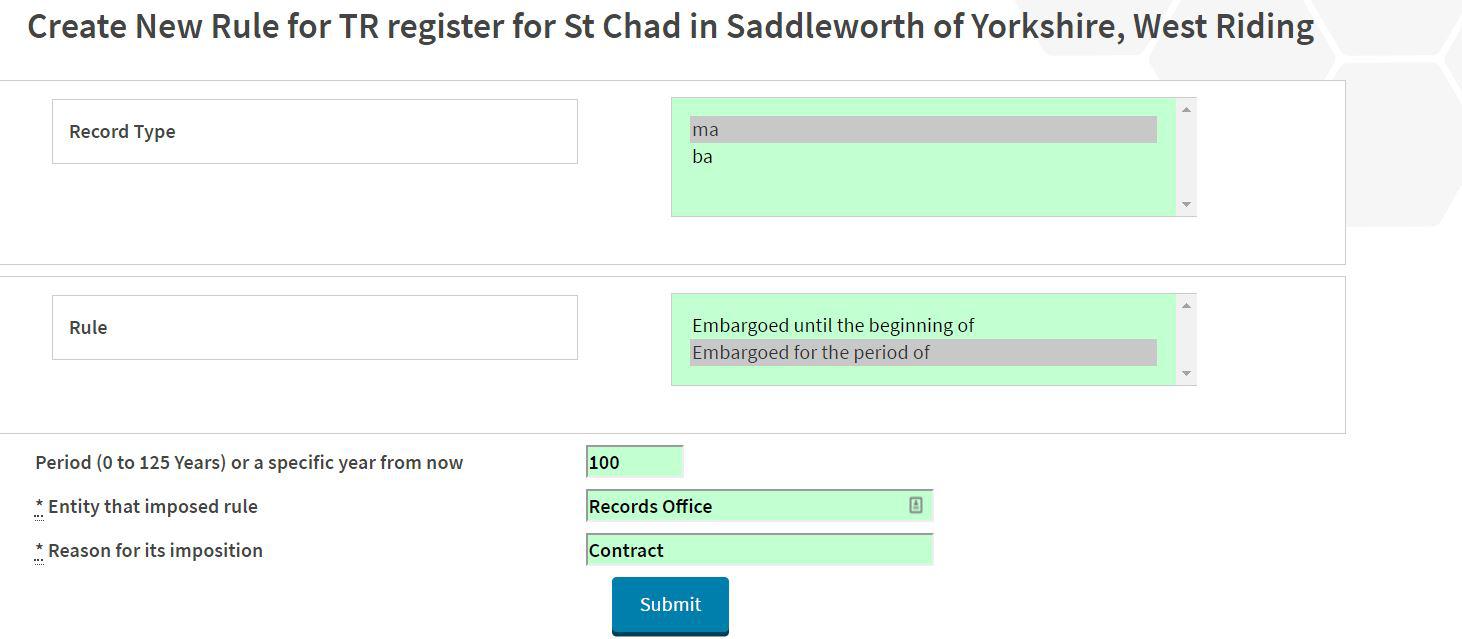
Listing the rules
We now have a list of two rules for the register:

You can edit the period or year, also the entity and the reason for a rule. You cannot destroy a rule, but you can make it ineffective by specifying either a period of 0 (zero) years or the current year.
Managing the embargo of a specific record
Senior members may, on the authority of the Trustees, embargo or remove the embargo of a specific record. This action has priority over the register rules and cannot be overwritten by a register rule.
If an individual asks for their own record to be removed we should embargo it without asking for further Trustee guidance. If the request is from a close relative, we should embargo it. But, if the connection is more distant we should get the request from the person named in the record or seek Trustee approval, via the Executive Director.
Setting up the embargo
Navigate to the edit screen of the specific entry that you wish to embargo. If you have the authority to do so, you will see a new action at the top of that screen:
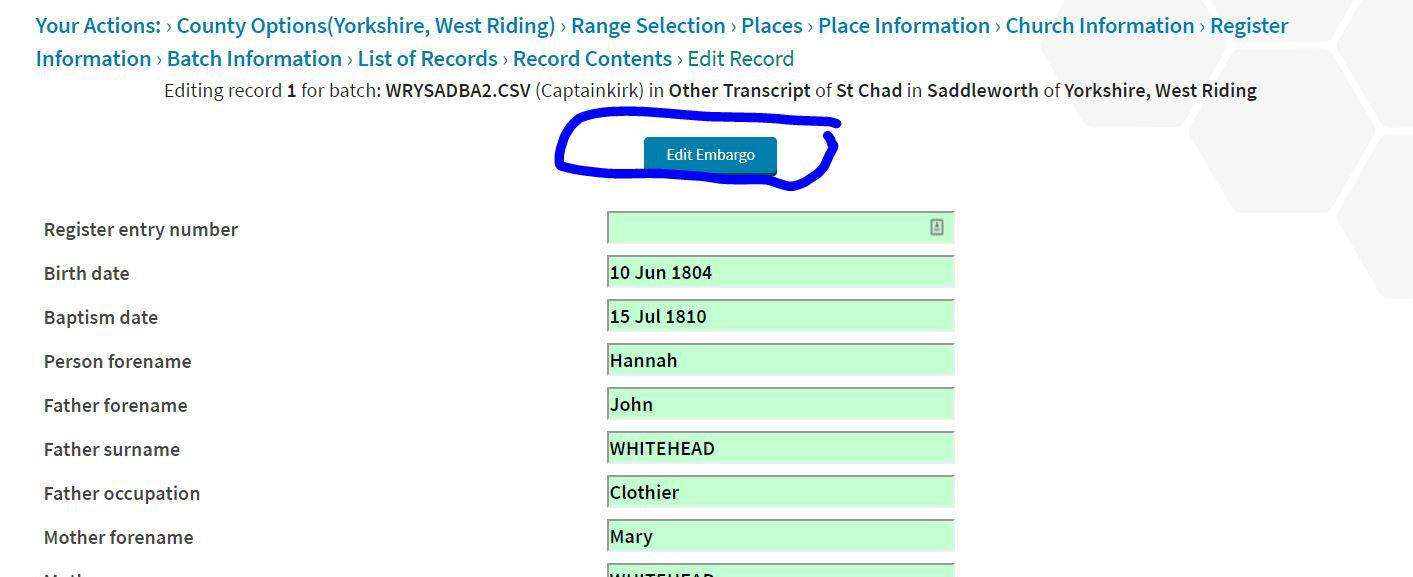
Select ‘Edit Embargo’ and you will see the embargo options that are available:

You can set the embargo to ‘true’ or ‘false’, add a reason why and the date from which the record can be retrieved:

On submission you get a record display that has a new field (line) at the bottom, ‘History of embargo changes’:

Editing an embargo
You can edit the embargo again (and again) and each edit will add to the history. Never change an older embargo! Always create a new embargo, at the bottom.
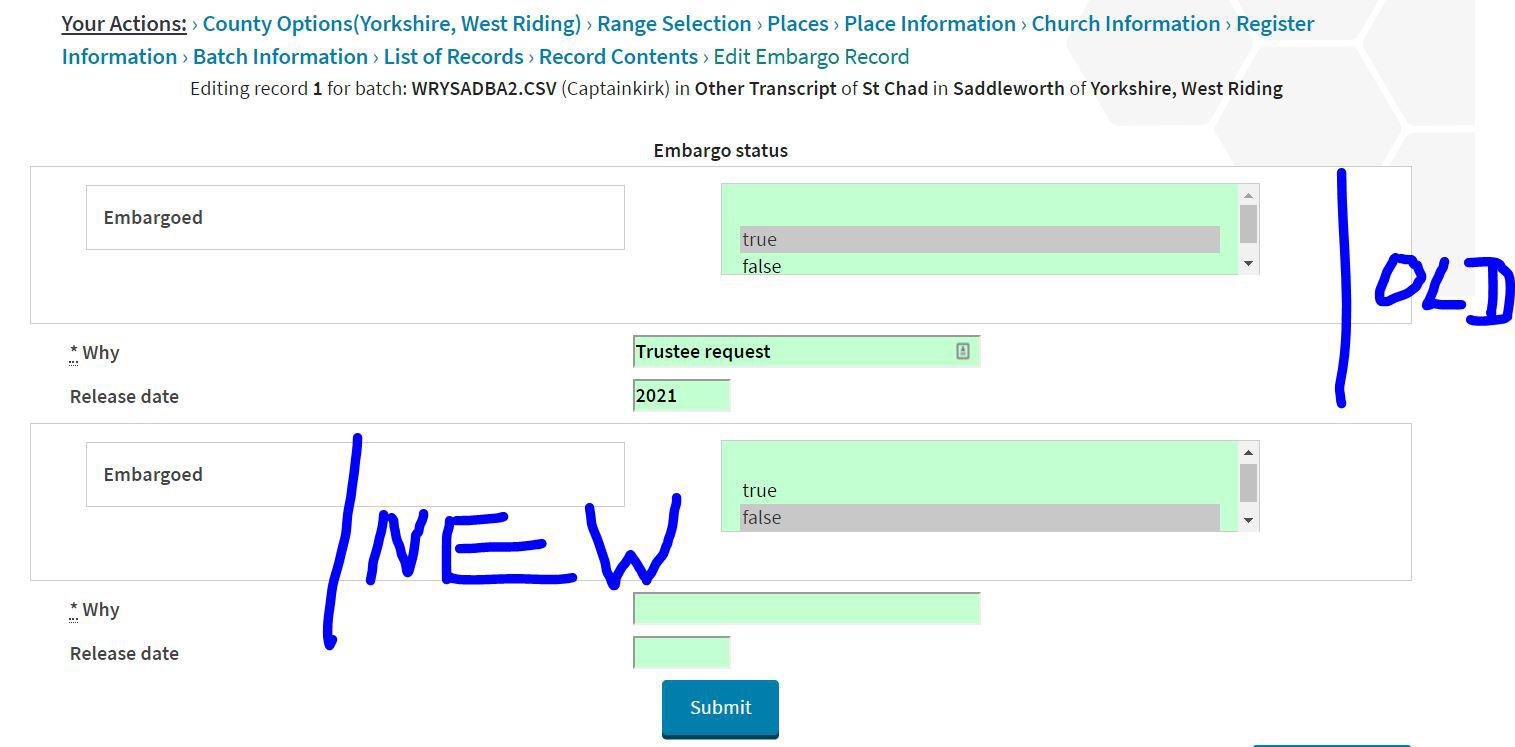
For example:
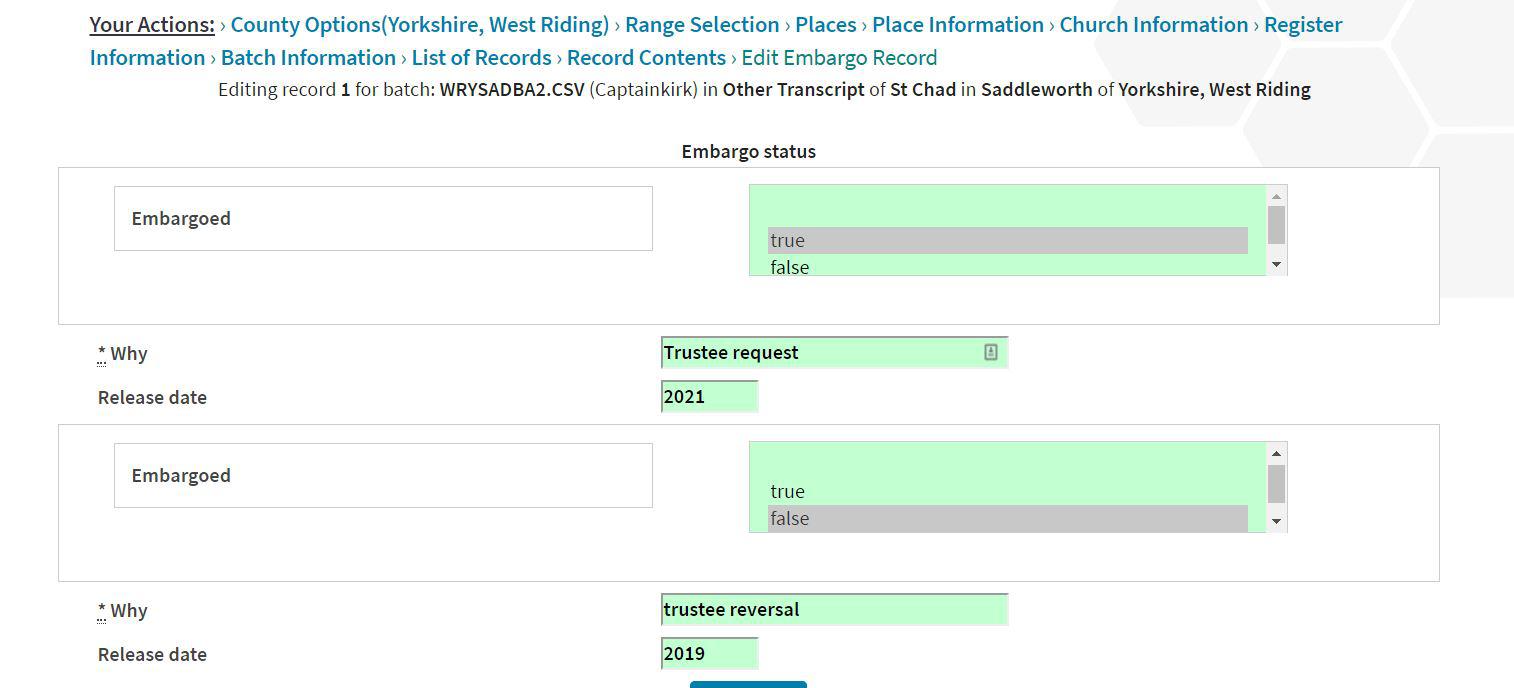
And here we see the result (I had actually done it twice!):
